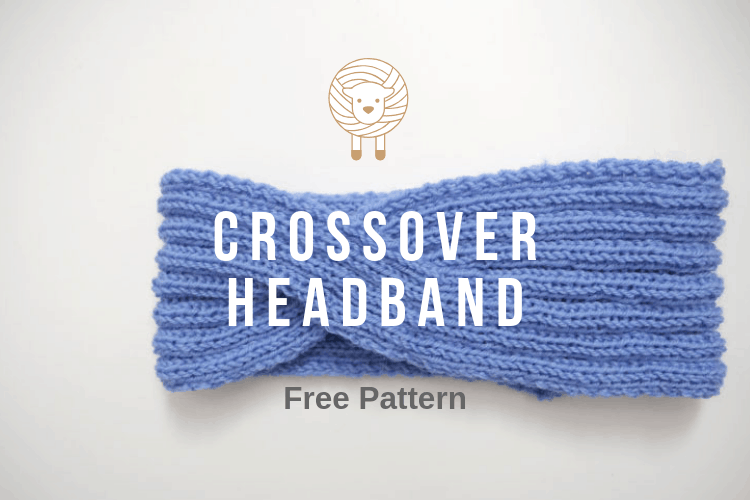
I’ve wanted to knit a headband for myself for a long time. A headband is a handy tool when you’re applying face masks, with it, you can easily put your hair up, and a headband also helps you get rid of frizzy little hair along your hairline.
So last Friday, I picked up my favorite Knitpro Zing needles (Rule No.1: using your favorite knitting needles can help you start a new project very quickly) and started to search on the web for inspirations of a headband.
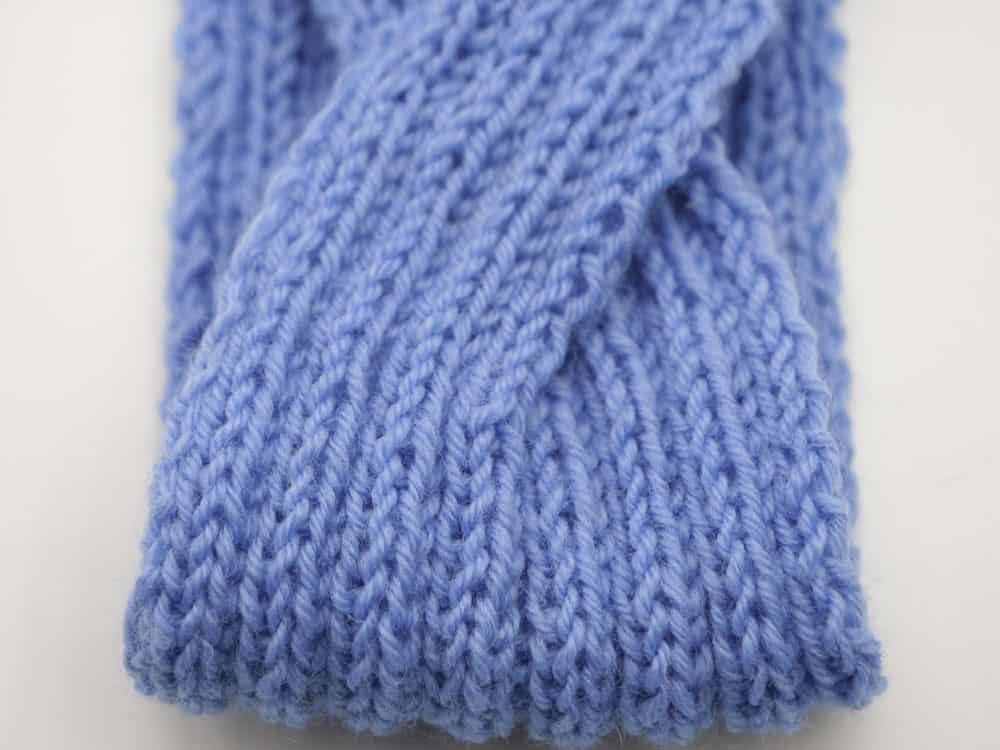
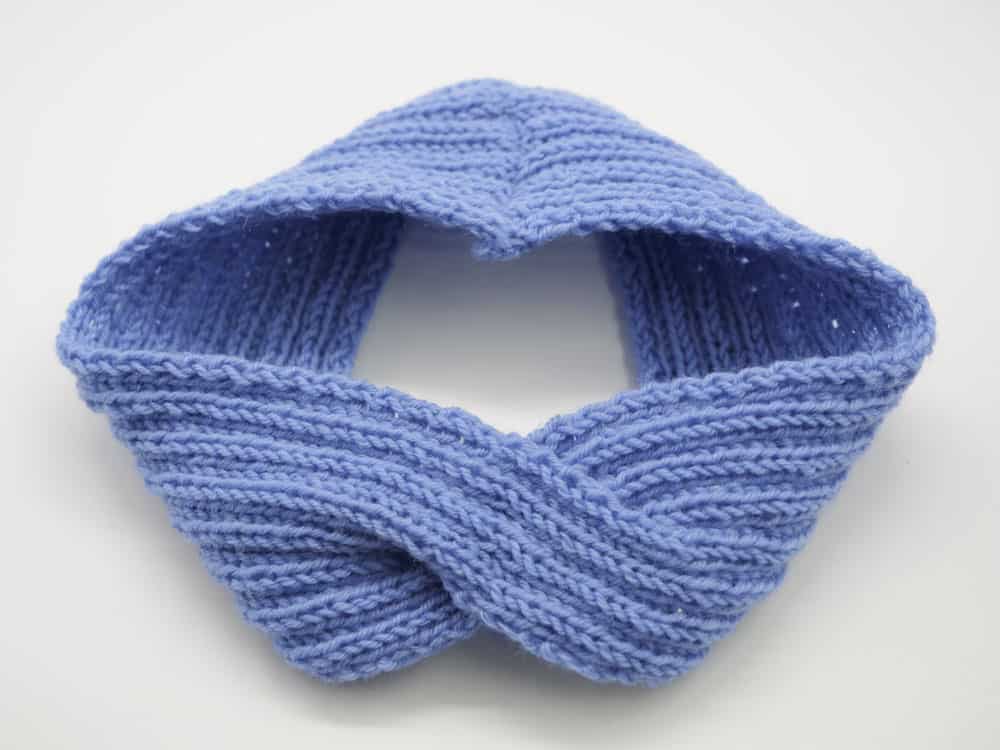
What does this headband look like? Well, I wanted it to be very wide and have that vintage Hollywood movie look. I also wanted to make a stylish headband, so I decided to give the band a twist in the middle, so a crossover headband started to show up!

The yarn I used for the headband is light worsted weight yarn, with two US size 5 [3.75 mm] needles. I chose to work in 2×2 rib stitch because I thought the stitch is simple and very decorative. The hardest part of this project was the crossover part, which made it more like a super large cable stitch band.
If you’re interested in learning how to make this headband, check out my video below. You can also find a free pattern for this headband below the video.

Crossover Headband Pattern
SKILL LEVEL: Basic
SIZE:
Finished Circumference about 22 in. (56 cm), will stretch to fit a range of sizes
Finished Width About 3.6 in. (9 cm)
MATERIALS
• Light worsted weight yarn 1 ball
• Two double-pointed needles – US size 5 [3.75 mm]
• A tapestry needle
GAUGE:
35 stitches = about 4 in. (10 cm).
HEADBAND
Cast on 32 stitches. (Ribbed cast-on recommended, for beginners, you can use long-tail cast on instead)
(2×2 rib)
Row 1 (RS): (K2, p2) 8 times.
Row 2 (WS): Knit the knits and purl the purls
Repeat RS and WS row to 9 inches, then divide the headband into two even parts (part A and part B), we will first work on part A back and forth for about 2.5 inches, then work on part B for 2.5 inches.
PART A
RS row: (K2, p2) 4 times, work to the center
WS row: turn the piece, work on WS, knit the knits and purl the purls.
Repeat RS and WS row to 2.5 inches, leave the yarn tail to the right
PART B
(Start with a new ball of yarn)
RS row: (K2, P2) 4 times, work to the center
WS row: turn the piece, work on WS, knit the knits and purl the purls.
Work 2.5 inches, then leave the yarn tail to the right
CROSSOVER
Cross part B over part A
Then start to knit 2*2 rib stitch to the end (32 stitches).
Work 9 inches.
Bind off. (Beginners can use traditional bind off instead of ribbed bind off)
FINISHING
With a tapestry needle, weave in ends, then sew the beginning and ending edges together.
That’s all for this simple headband!

Don’t forget to PIN this headband to your Pinterest board if you find it useful!
I’d like to hear your opinions, please leave a comment below to share your headband inspirations!
Aisha gabdo says
It’s Amazing learning how to knit a headband and also the tutorial was useful.
So helpful Actually
NOEMI says
Very nice; easy and beatiful